DIY Reverse Osmosis System Part 2: Hook Up and Testing an RO Membrane

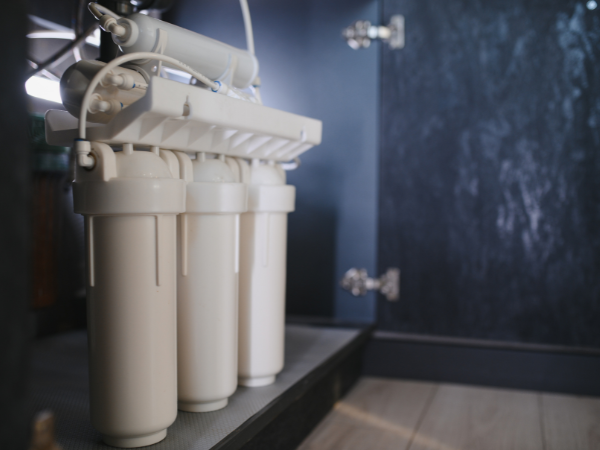
A DIY reverse osmosis system can be assembled and tested at home with just a few key components. This guide explains how to hook up the membrane, test your system’s water quality, and understand what your TDS (Total Dissolved Solids) readings really mean — ensuring your RO system is working efficiently.
Step 1: Review Your System Setup
Before testing, ensure your RO unit is properly connected. If you haven’t seen how to build the system, start with Part 1 of our DIY Reverse Osmosis System Guide.
For this test, the only additional component used is a diverter valve that attaches directly to the faucet — perfect for connecting your setup without permanent plumbing.
→ View the diverter valve used in this test.
Step 2: Run and Flush the System
While professional installations use a storage tank for complete flushing, a quick test run is enough to confirm performance.
-
Turn on the water and let it run for several minutes.
-
Observe the water flow from the waste and purified lines.
-
Check for leaks around fittings and connections.
Flushing removes manufacturing preservatives and primes the RO membrane for consistent filtration.
Step 3: Measure Water Quality with a TDS Meter
Reverse osmosis systems are evaluated based on TDS reduction, which measures dissolved minerals and salts in water (in parts per million or ppm).
Use a TDS meter to compare readings before and after filtration.
→ Shop the HM Digital TDS-EZ Meter here.
Example:
-
Tap water: 100 ppm
-
RO water: 3–8 ppm
This shows a rejection rate of 92–97%, which is excellent for most home systems.
Step 4: Understand RO Membrane Rejection Rates
Each RO membrane includes a specification sheet showing its rejection rate — the percentage of impurities it removes under ideal conditions.
For instance, a Filmtec membrane offers a 97% rejection rate at 77°F, 8.0 pH, 15% recovery, and 500 ppm feed water. Real-world conditions vary, so achieving 92–97% is perfectly normal.
If your readings fall slightly below the listed spec, check for:
-
Cold feed water (reduces efficiency)
-
High TDS input (reduces rejection percentage)
-
Membrane age or improper flushing
Step 5: Interpreting TDS Readings Correctly
TDS meters measure charged ions only — they don’t account for uncharged particles or organic matter.
For unknown water sources or well water, consider a complete water analysis to determine if pre-treatment or post-treatment (such as carbon filters or UV purification) is necessary.
Learn more about why RO systems improve your household water quality in our related post:
Top Benefits of Installing a Reverse Osmosis System in Your Home
For additional insights into system performance and environmental standards, visit the EPA’s guide on Point-of-Use Reverse Osmosis Systems.
Quick Tips for Best Results
-
Always flush new membranes before testing.
-
Use room-temperature water for accurate readings.
-
Recheck TDS after several hours of operation for stabilized results.
-
Replace pre-filters every 6–12 months to maintain rejection rates.
#reverse osmosis
#reverseosmosis
#diy
#rosystem
#rowaterfilter
#rosystem
#waterfilter
#diywaterfilter


